So even though we are quite a way into Autumn now I wanted to share with you this Autumnal Garland DIY to decorate your rooms with. I made this with Emily and we had so much fun making it so I hope you do too.

You Will Need:
- A3 piece of card
- A piece of scrap paper
- 7ml of Red, Orange and Yellow ready mix paints per cup (or you could use 3 blues for a more wintry look)
- 6ml of Water per cup
- 8ml of washing up liquid per cup
- 3m of String

Equipment:
- A leaf template
- 3 cups
- 3 straws
- Scissors
- Pencil
- Hole punch
What you have to do:
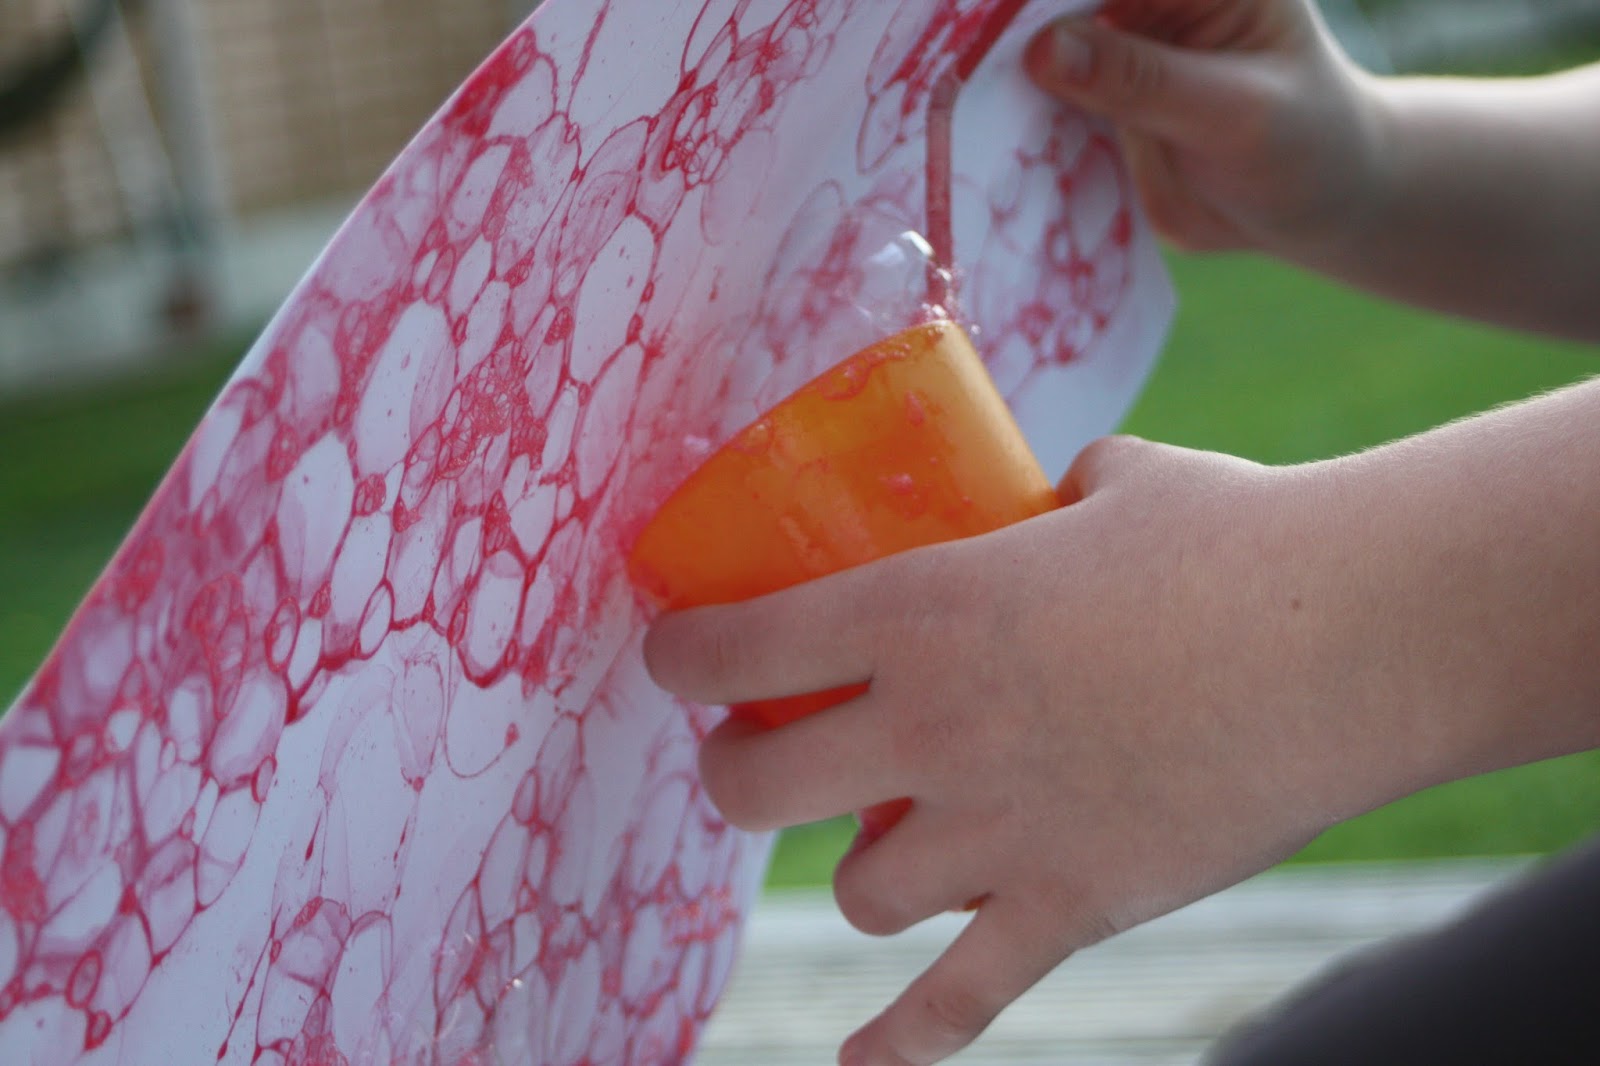 1) Start by mixing up your red paint, water and washing up liquid into a cup with the straw.
2) Blow until the bubbles come over the rim of the cup, pick up your scrap paper and put it gently on the bubbles. Check the paint doesn't run and it is the colour you want. Adjust measurements if you need too.

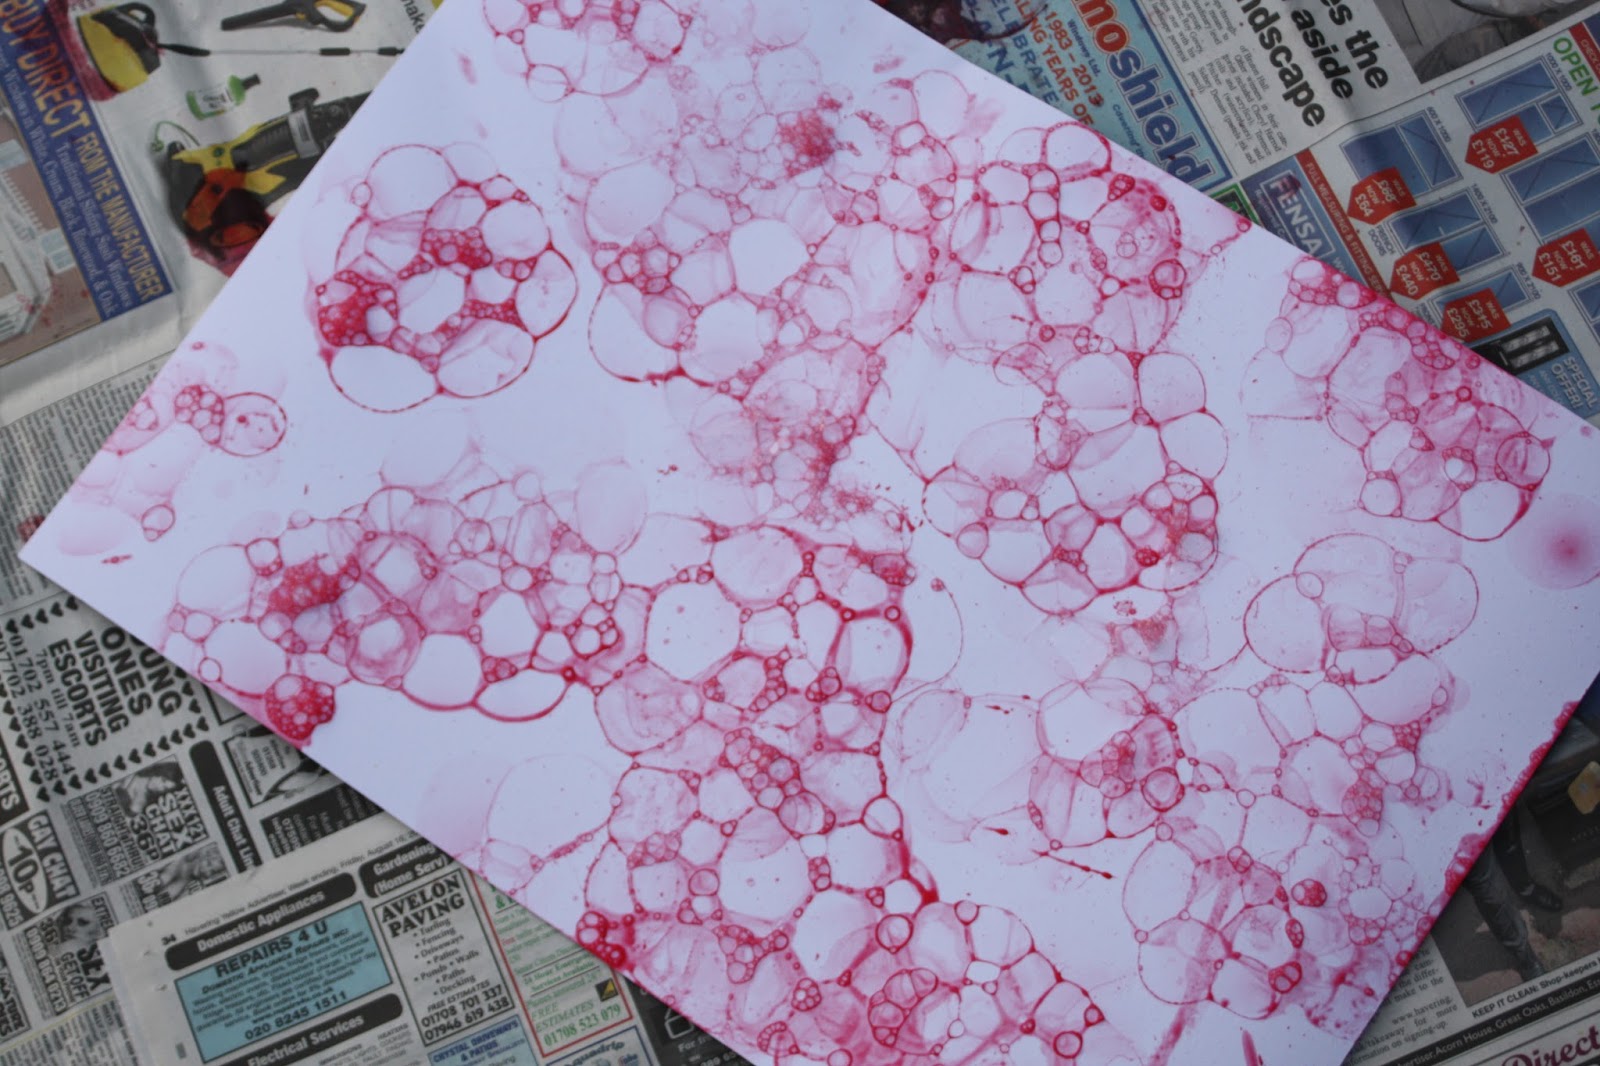
3) When you have got your colour sorted repeat step two on your piece of card and cover the piece of card with as many or as little bubbles as you wish.
4) Repeat steps 1-3 with all the colours you wish - I did 3. Leave 5 minutes between each colour.
5) For the back of the card you can do what you want. I used stamped the letters of the word Autumn all over the back but you could do more bubble print or use some gold glitter - whatever suits you!
6) Leave the card until both sides are fully dry and then get your leaf template and start drawing around it all over your card.

8) Measure out roughly 3m of string and string the leaves on.
9) Tie the ends and you are done! Now find a nice place to hang in your room.

I hope you enjoyed this post. Let me know in the comments if you tried it and if you have any questions. Thank you very much for stopping by and reading.
Abi
♥
Wow this looks really good x
ReplyDeleteThank you Em x
DeleteAmazing! Love your blog x
ReplyDeleteThank you so much for taking a look, glad you enjoyed x
Delete